Ring-MQTT
References
- Ring-MQTT Wiki (documentation)
- DockerHub (Docker images)
- GitHub (Source code and issues)
Getting started
-
Be in the correct directory (assumed throughout):
$ cd ~/IOTstack -
Run the IOTstack menu and choose
ring-mqtt. An alternative to running the menu is to append the service definition template to your compose file like this:$ sed -e "s/^/ /" ./.templates/ring-mqtt/service.yml >>docker-compose.ymlThe
sedcommand is required because service definition templates are left-shifted by two spaces. -
This step is optional. Use a text editor to open your
docker-compose.ymlfile:- find the
ring-mqttservice definition; - change the
TZenvironment variable to your time-zone; - save your work.
- find the
-
Bring up the container:
$ docker-compose up -d ring-mqttThis pulls the image from DockerHub, instantiates the container, and initialises its persistent storage.
-
Use
sudoand a text editor to open the configuration file at the path. For example:$ sudo vi ./volumes/ring-mqtt/data/config.jsonAt the time of writing, the default configuration file looked like this:
 1
 2
 3
 4
 5
 6
 7
 8
 9
10
11
12
13
14
15
{
    "mqtt_url": "mqtt://localhost:1883",
    "mqtt_options": "",
    "livestream_user": "",
    "livestream_pass": "",
    "disarm_code": "",
    "enable_cameras": false,
    "enable_modes": false,
    "enable_panic": false,
    "hass_topic": "homeassistant/status",
    "ring_topic": "ring",
    "location_ids": [
        ""
    ]
}
From the perspective of any process running in a Docker container,
localhostmeans "this container" rather than "this Raspberry Pi". You need to edit line 2 to point to your MQTT broker:-
If the
ring-mqttcontainer and yourmosquittocontainer are running on the same Raspberry Pi:2"mqtt_url": "mqtt://mosquitto:1883", -
Otherwise, replace
localhostwith the IP address or domain name of the host where your MQTT broker is running. For example:2"mqtt_url": "mqtt://192.168.0.100:1883", -
If your MQTT broker is protected by a username and password, refer to the Ring-MQTT Wiki for the correct syntax.
Save your work then restart the container:
$ docker-compose restart ring-mqtt -
-
Launch your browser (eg Chrome, Firefox, Safari) and open the following URL:
http://«ip-or-name»:55123where
«ip-or-name»is the IP address or domain name of the Raspberry Pi running your ring-mqtt container. Examples:http://192.168.1.100:55123http://iot-hub.my.domain.com:55123http://iot-hub.local:55123
You should see the following screen:
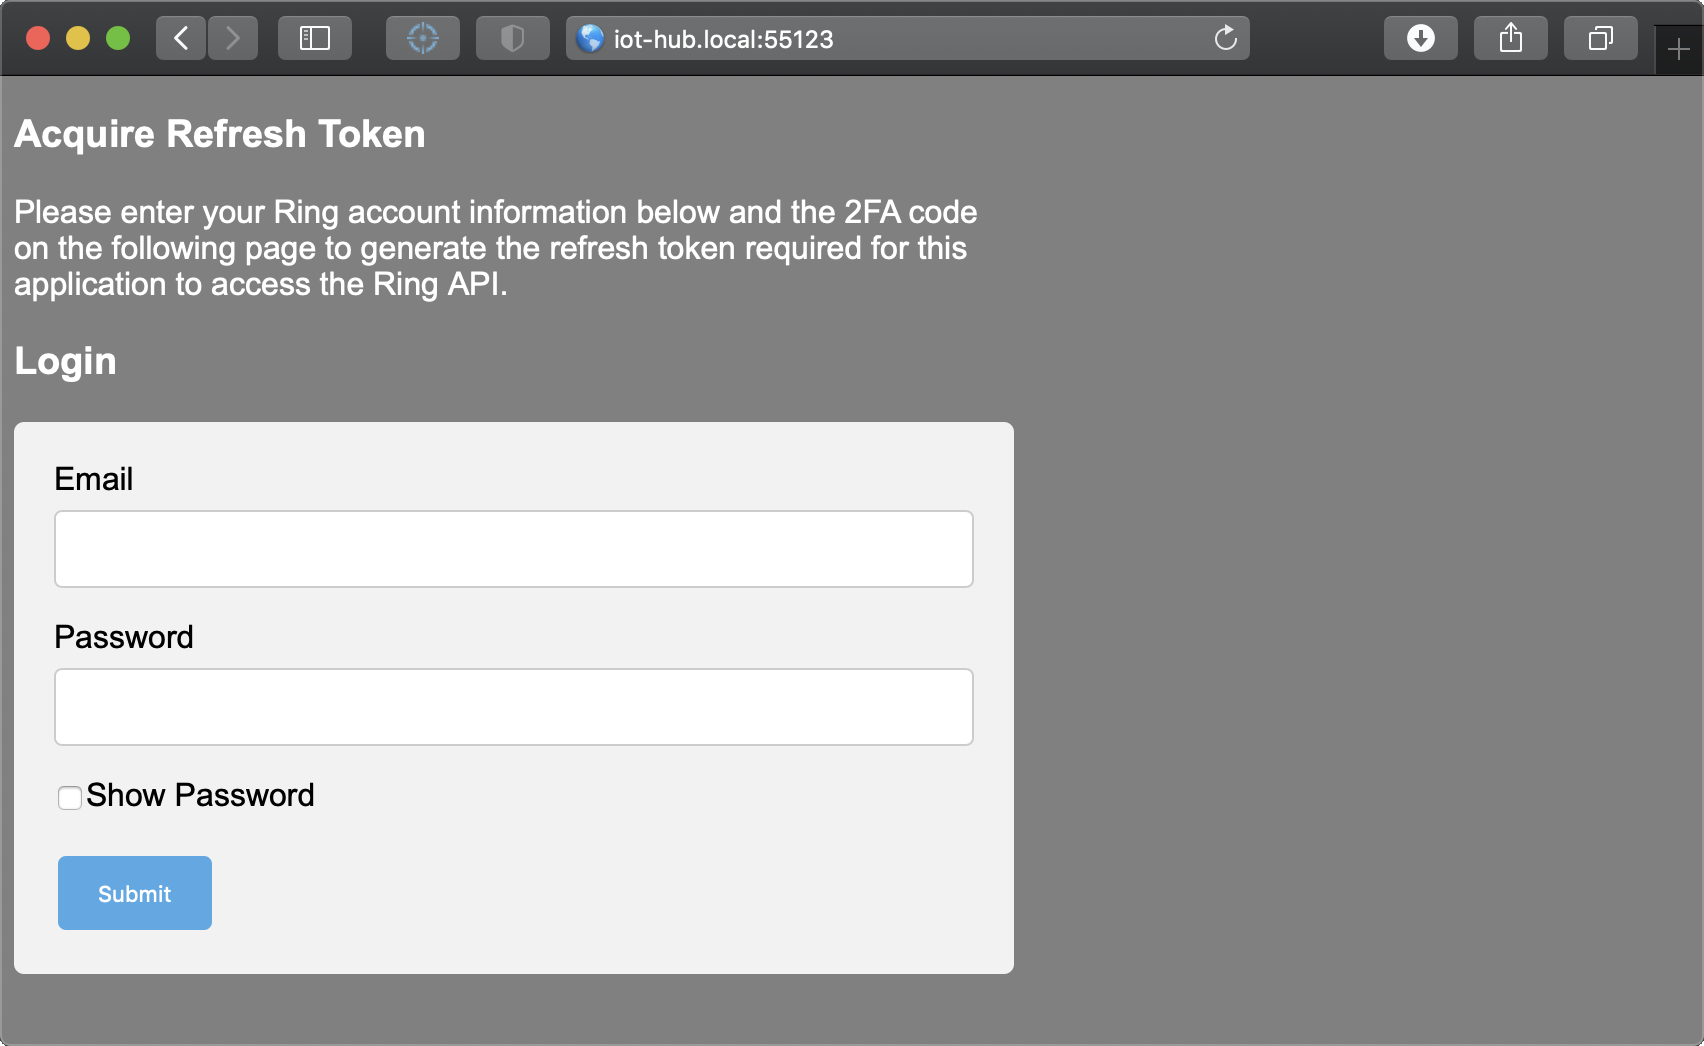
Follow the instructions on the screen to generate your refresh token.
-
Check the logs:
$ docker logs ring-mqttUnless you see errors being reported, your
ring-mqttcontainer should be ready.
Environment variables
The default service definition includes two environment variables:
environment:
- TZ=Etc/UTC
- DEBUG=ring-*
TZ=should be set to your local time zone (explained above).DEBUG=ring-*("all debugging options enabled") is the default forring-mqttwhen running in a container. It is included as a placeholder if you want to tailor debugging output. Refer to the Ring-MQTT Wiki.
Whenever you change an environment variable, run:
$ cd ~/IOTstack
$ docker-compose up -d ring-mqtt
The "up" causes docker-compose to notice the configuration change and re-create the container.
Configuration
Consult the Ring-MQTT Wiki.
Maintenance
Periodically:
$ cd ~/IOTstack
$ docker-compose pull ring-mqtt
If a new image comes down from DockerHub:
$ docker-compose up -d ring-mqtt
$ docker system prune -f
The "up" instantiates the newly-downloaded image as the running container. The "prune" cleans up the older image.